There is more to landscape photography than just pointing your camera at the scene in front of you. Enjoy these hints and tips that will help you make the most of different types of landscapes.
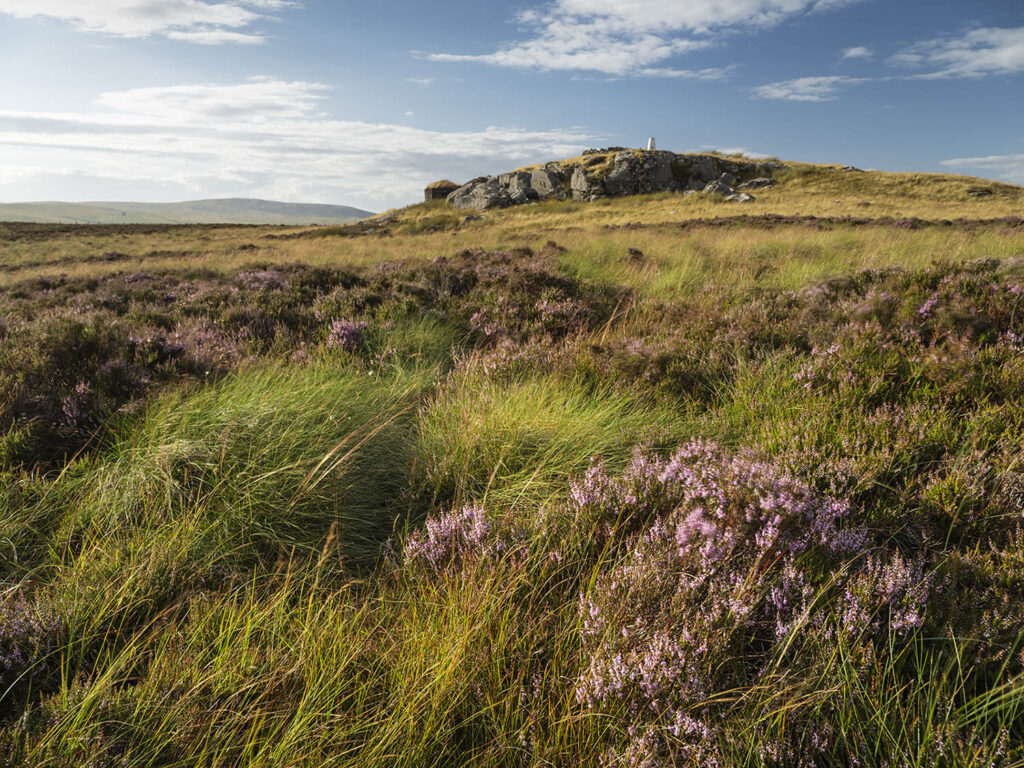
MOORLAND, HILLS AND MOUNTAINS
These three types of landscape are probably the most physically challenging to photograph. Because of the time it takes to reach a suitable location it’s often a good idea to camp close to your location the night before. This is particularly relevant if you want to be at that location for sunrise (the alternative is to navigate in the dark, which is only recommended if you’re following a well-trodden path). Being high on a hill at sunrise has several advantages. The peaks of hills and mountains are lit long before any valley below – if the hills or mountains are high enough the valley may not even see direct sunlight during winter. Another advantage to height is during a temperature inversion. This occurs when temperatures actually increase with altitude – normally temperatures decrease markedly. During a temperature inversion clouds will be lower than normal. If you’re high enough, you’ll be above the cloud layer, with any surrounding hills poking up above the clouds.
The challenge with moorland is bleakness. Moorland is often relatively empty, with few trees and where only low, ground-hugging plants grow. The key is use any points of interest you can find, whether those are rocks, bushes or streams. Summer and autumn are good times to be out shooting on moorland. Heather moorland is a riot of colour late summer. Autumn sees grasses turn golden brown.
DESERT
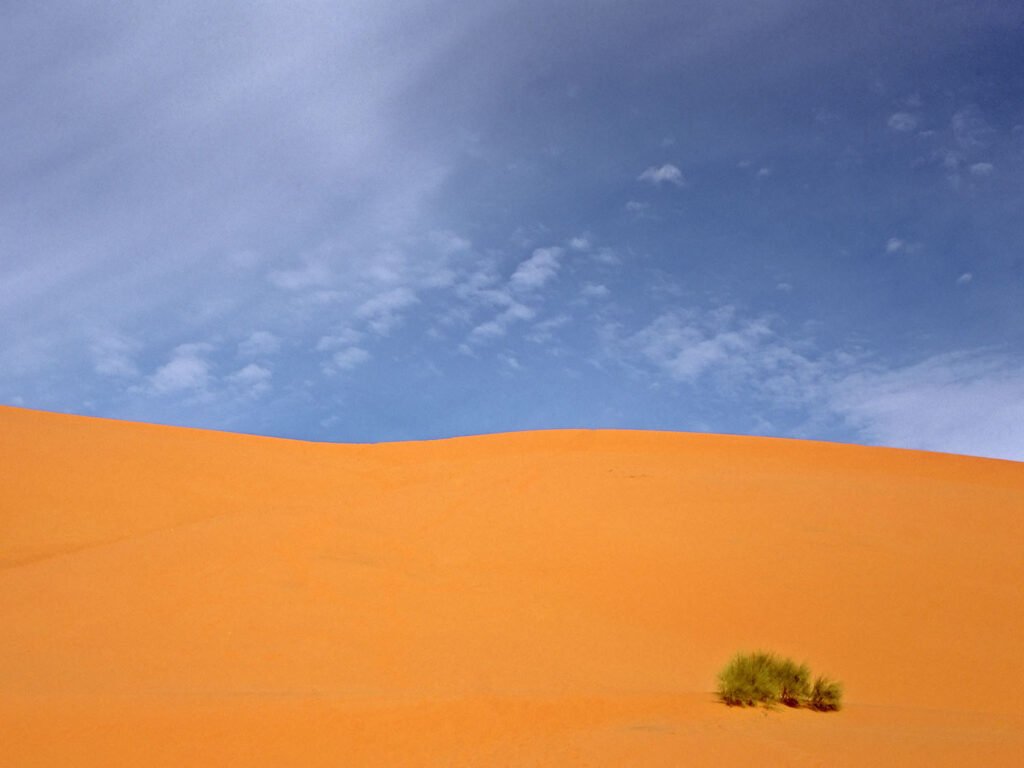
The defining characteristic of a desert is that little rain falls over the course of the year. This means that deserts are typically arid places with little in the way of vegetation or animal life (though deserts often – briefly – come colourfully to life after rainfall). This characteristic, coupled with extremes of heat, makes deserts tough places not only to photograph but to survive. You really have to either know what you’re doing – or be with someone who does – to venture out into a desert.
The rewards are a timeless, relatively pristine landscapes. Sandy deserts, such as the Sahara, change rapidly time thanks to the actions of the wind. Footprints and others signs of habitation are erased remarkably quickly. The best time to be out shooting deserts is either early in the morning or evening. Partly because conditions will be cooler then, which is better for you and your camera. But also because the low sun will more readily reveal the textures of the landscape – ripples in the sand or fractures in rock – than at midday.
SNOW AND ICE
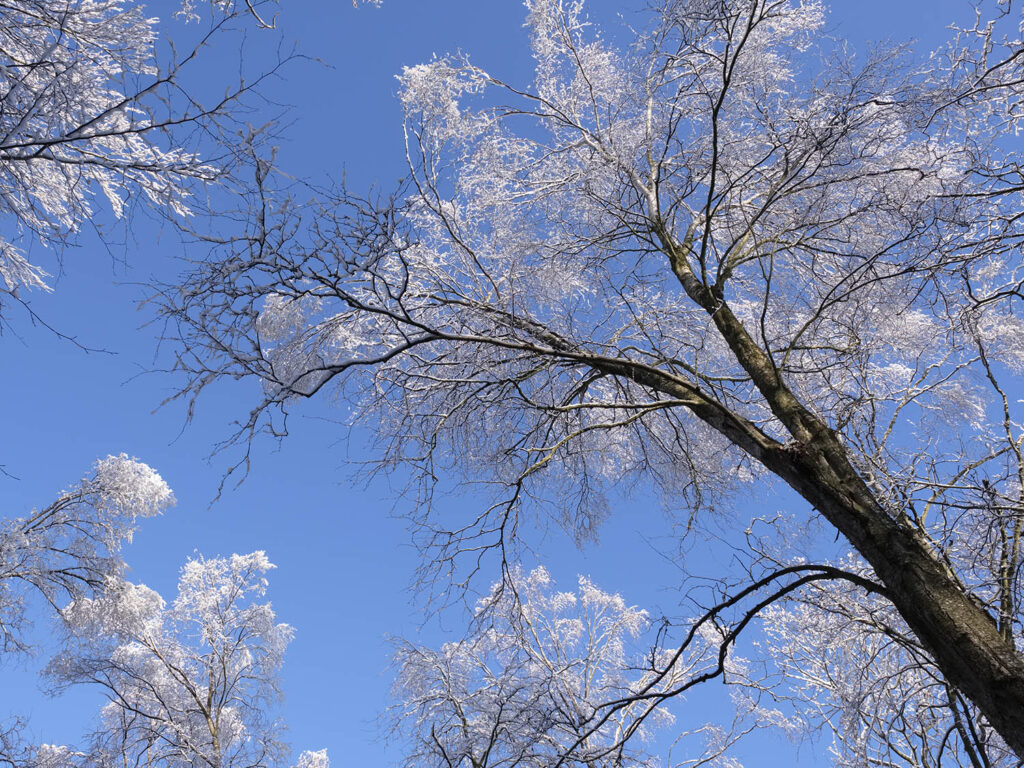
Just as working in a desert, there’s a physical challenge to be overcome when working in a wintry, snow-covered landscape: cold. Landscape photography often involves standing around waiting for the right light. When working in wintry conditions you can easily get dangerously cold (particularly if you worked up a bit of sweat to reach your chosen location). Appropriate clothing is therefore key. Your feet, being in contact with the cold ground, are particularly vulnerable. Good boots and thick socks are vital. Your outer garments should be windproof to help reduce the effects of windchill. Below this wear layers of warm clothing to trap warm air close to your body. Gloves are essential, though they can make using your camera’s controls difficult. Fingerless gloves are one solution, though personally I prefer to wear two pairs of gloves, one thick pair of outer gloves and a less substantial inner pair. When using a camera the outer pair are temporarily removed.
Snow-covered landscape are generally best tackled early in the morning. It’s frustrating to arrive too late and discover your pristine snowscape is covered in footprints! Snow is highly reflective and so can fool camera meters, causing them to underexpose your images. Either spot meter from a mid-tone in the landscape (such as a rock poking out of the snow) or add one and half stops of positive exposure compensation as a starting point. If the sky is blue, the shadows in the landscape will be as equally blue. This can be compensated for by using a custom white balance. Use a patch of snow in direct sunlight (not one that’s in shadow) to create the custom white balance.
WOODLAND
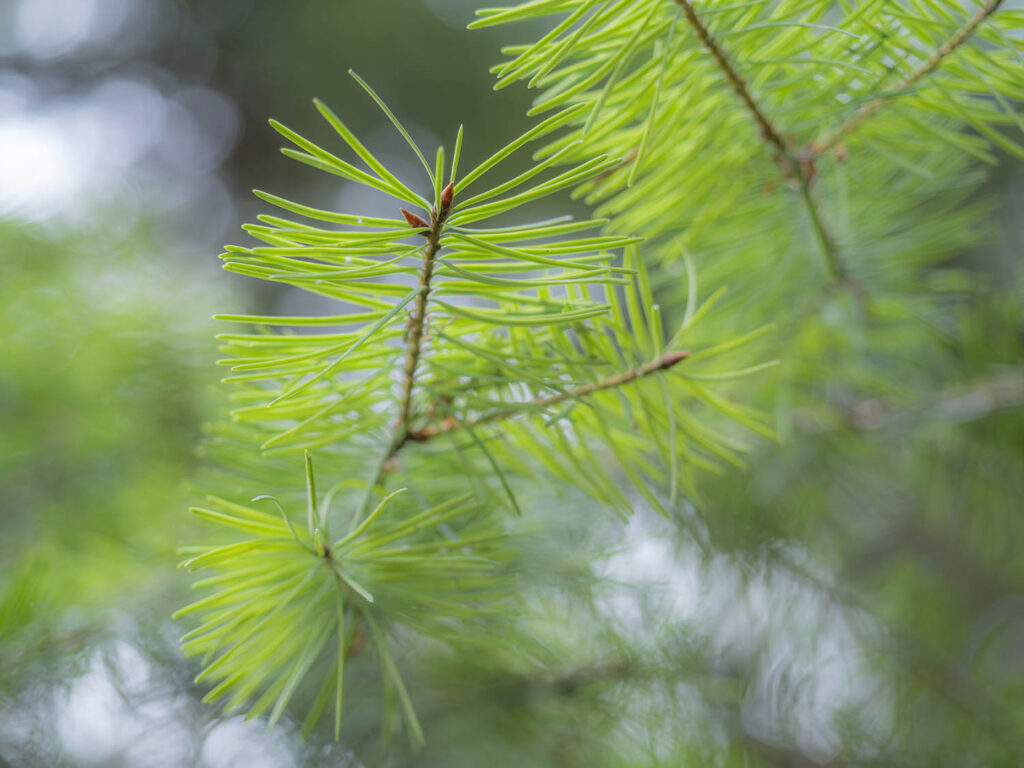
The main challenge when shooting in woodland is making sense of chaos. Nature doesn’t plan how woods change and grow over time. This often means that excluding unwanted elements from a composition can be an exercise in frustration. Using longer focal length lenses, such as a standard lens, will help you to simplify your compositions.
Tropical woodland (such as rainforest) doesn’t change much over the course of a year. Nor for that matter do conifer-dominated woods. However, this isn’t the case for deciduous woodland in temperate zones. Woodland filled with trees such as oak, maple or beech change radically from season to season. The reds and oranges of autumn foliage are particularly photogenic. You shouldn’t dismiss the other seasons however. The bare trees of winter can make interesting graphic subjects, particularly when shot silhouetted against a brooding sky. Spring brings fresh greens and woodland flowers. Summer sees the tree leaf canopy at its most dense, which ironically makes woodland relatively dark. This means that any patches of light on the woodland floor will be immediately eye-catching and can make interesting focal points in your shots.